Detail View helps you a high-level overview of your Items by displaying the most essential information about them.
When you are working in the Items section, Detail View also helps you easily move between multiple Items in your List.
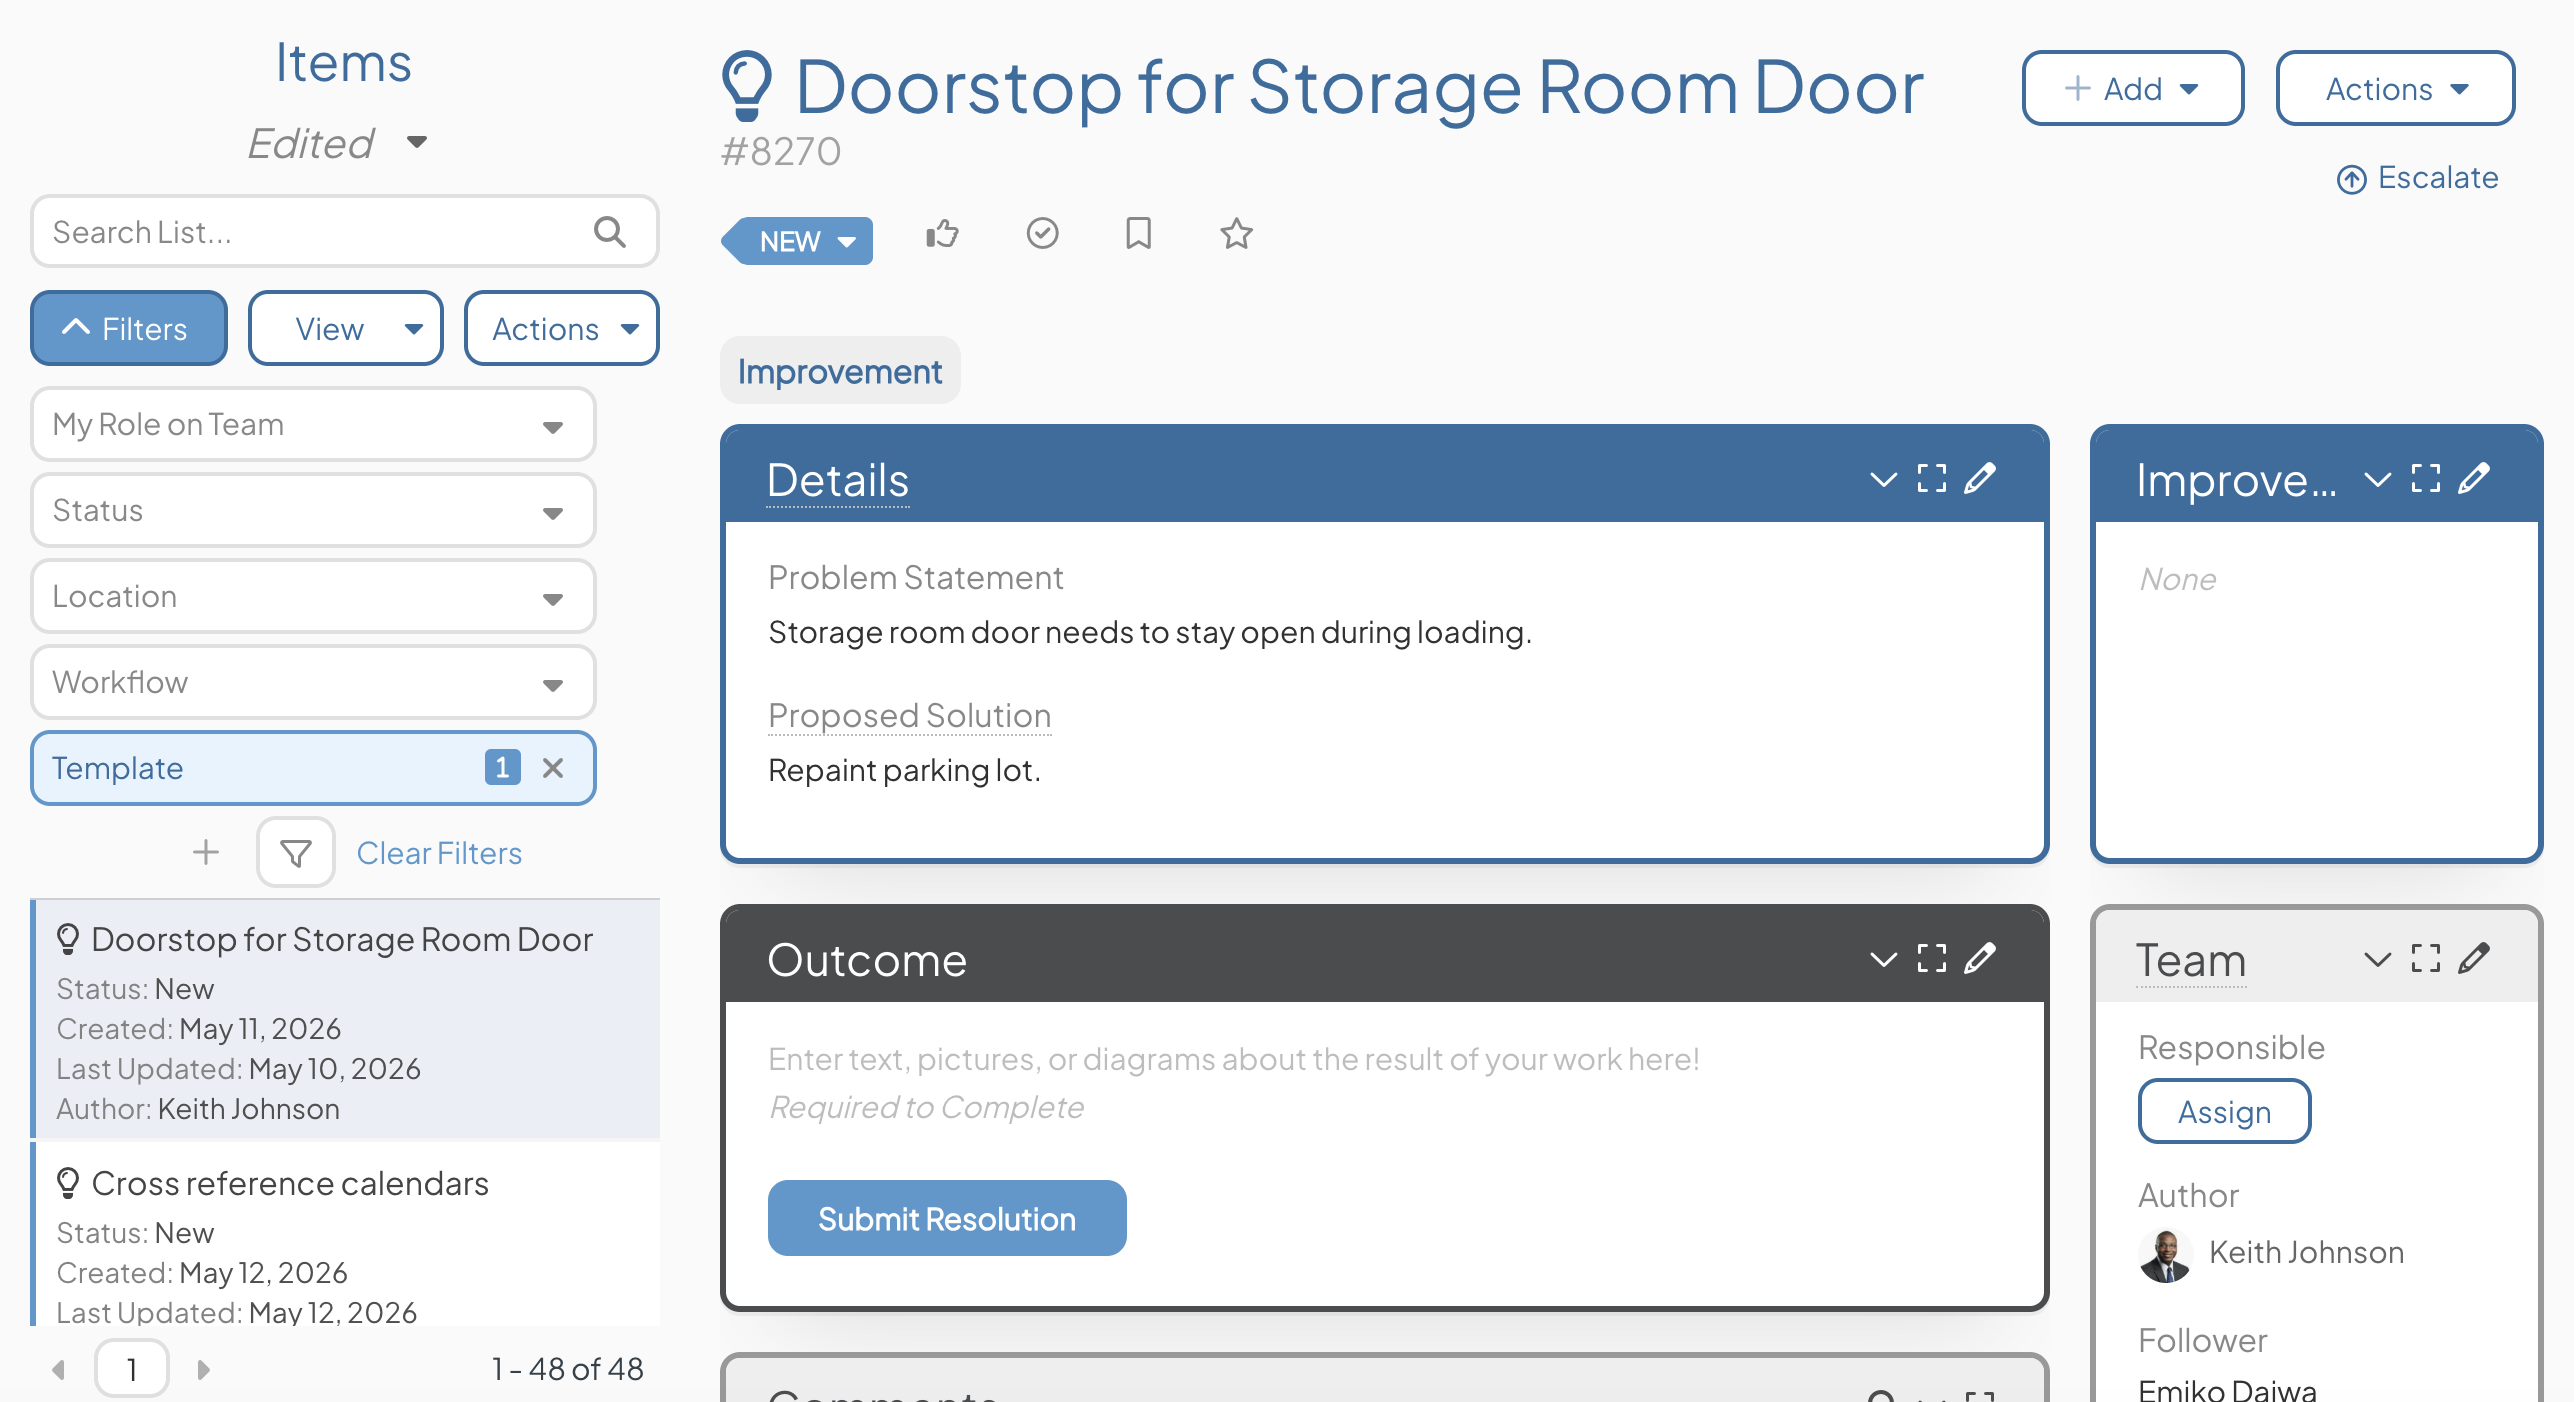
Example of an Item List in Detail View. The Items are listed along the left-hand side while the Work Panel of the currently selected Item appears on the left.
Only the most essential information is shown when a list of Items is in the Detail View. By default, Detail View will display the following Item Details:
- Name
- Status: The status will be written out and will also be indicated by the color of the bar next to each Item.
- Milestones: The current milestone, if any are included on the Item, and its status will be listed.
- Template: The Template's icon will appear beside each Item's name. Hover over that icon to see the Template's name.
- Key dates: Each Item's last updated date and one additional key date will be listed. The additional key date is chosen based on the Item's current status. For example, active Items' due dates and completed Items' completed dates will be shown.
- Key people: The most important team role (as determined by the Item's Team Type and current status) will be listed along with all the users in that role.
/Ofie/Ofie%20Profile%20Pic.png?width=50&height=50&name=Ofie%20Profile%20Pic.png) Pro Tip: You can customize which Item Details are displayed in Detail View by editing the Item List's View. Visit this support page to learn how.
Pro Tip: You can customize which Item Details are displayed in Detail View by editing the Item List's View. Visit this support page to learn how.
Working with the Detail View
- When in the Detail View, click any of the listed Items to open it.
![]() When Item List Cards or Nested Item List panels are in the Detail View, clicking one of the listed Items will open that Item in a new window. For lists in the Items section, however, the clicked Item will be displayed on the right side of the page.
When Item List Cards or Nested Item List panels are in the Detail View, clicking one of the listed Items will open that Item in a new window. For lists in the Items section, however, the clicked Item will be displayed on the right side of the page.
- To quickly update an Item without having to open it, right-click its name.
- Use the resulting Quick Edit drop-down to change the Item's status, edit its details, parent, Team, dates, or Locations, add a comment, archive the Item, or delete it.
![]() For more information on using the Quick Edit drop-down, check out this article.
For more information on using the Quick Edit drop-down, check out this article.
- To open an Item in a new tab on your browser, right-click its name, then click Open in a new tab in the resulting drop-down menu.
- To copy the direct link to an Item, right-click its name, then click Copy Link. The link will be copied to your clipboard.
Configuring the Detail View
To configure how Items are represented in the Detail View:
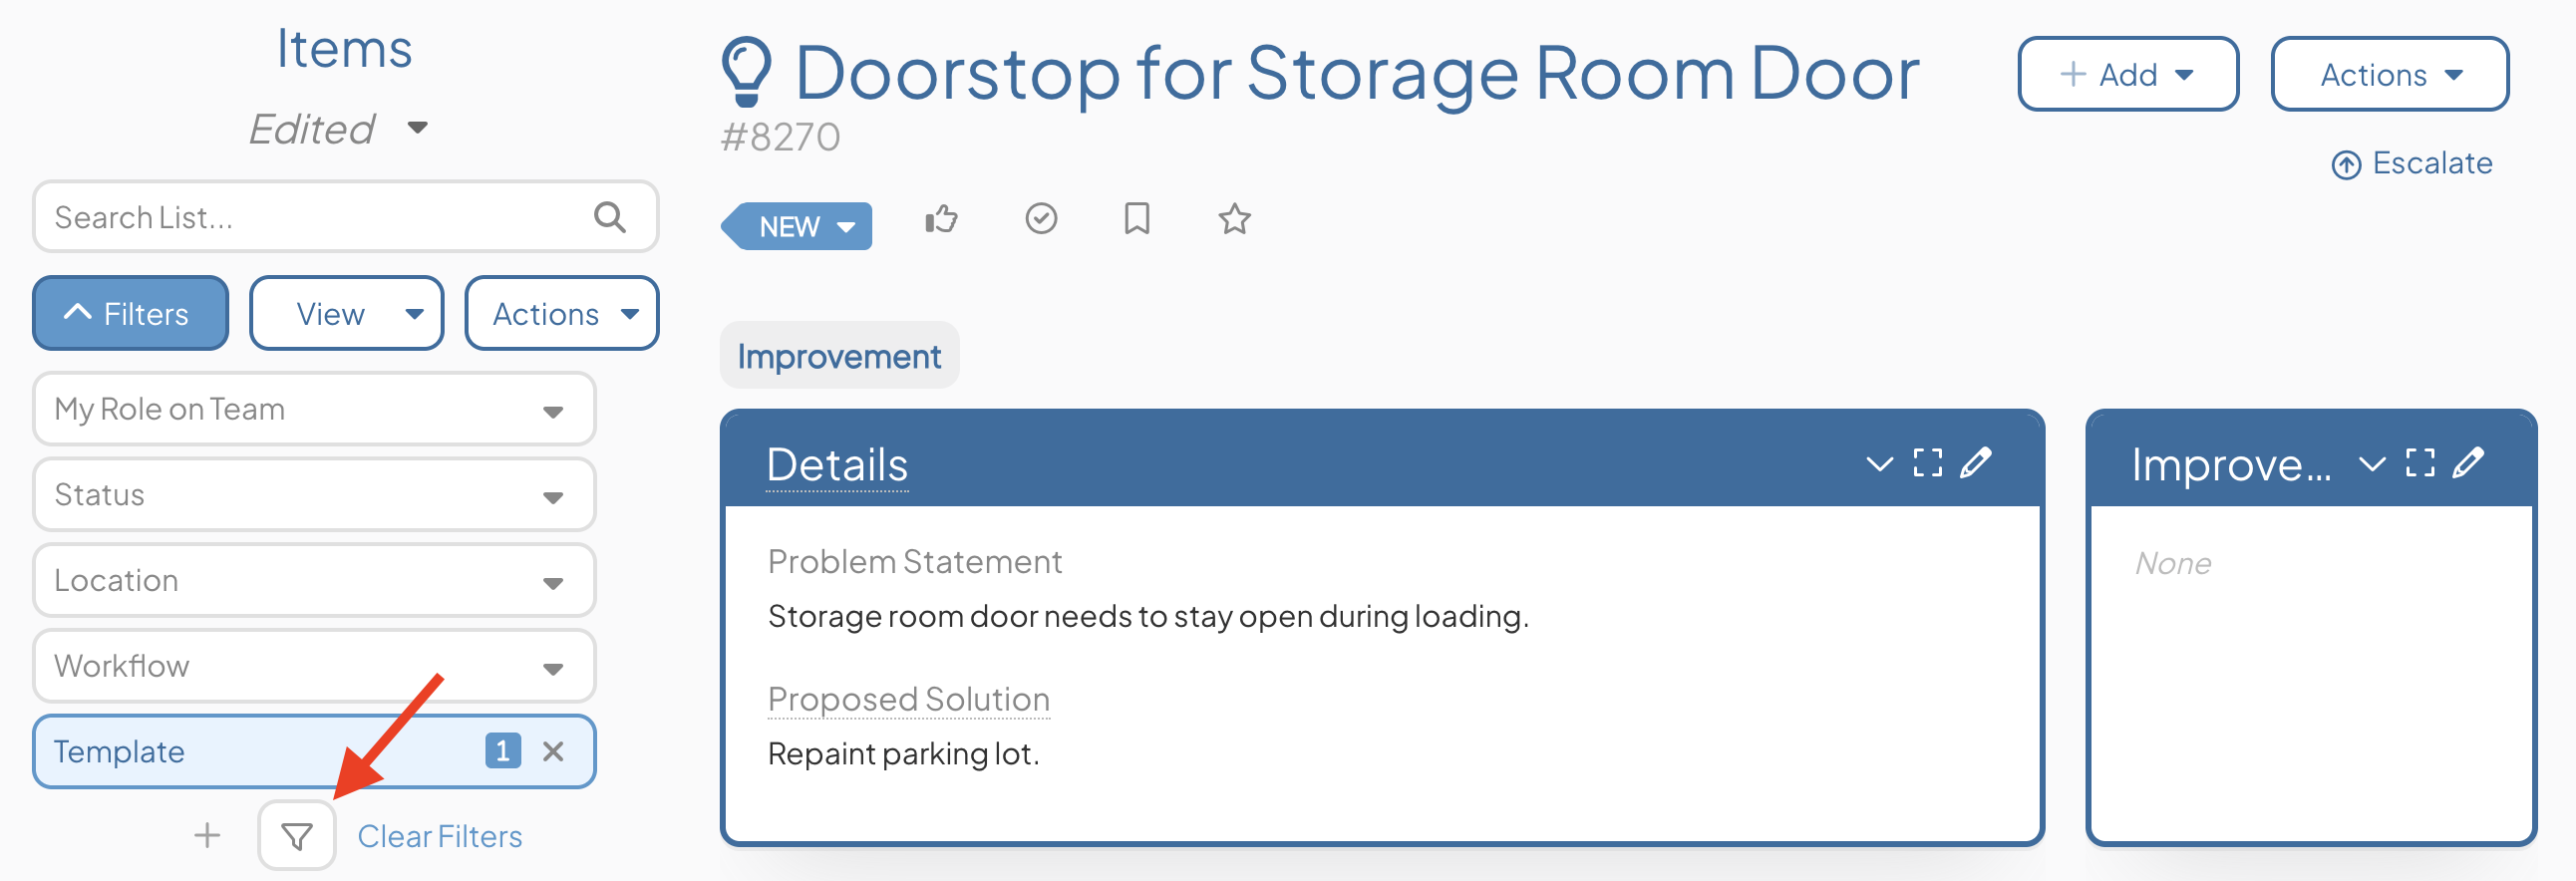
- Click the filter icon near the top of the list. If you do not see this option, you may need to first click Filters to expand the list's filters.
- In the resulting window, click the View Options header to expand it.
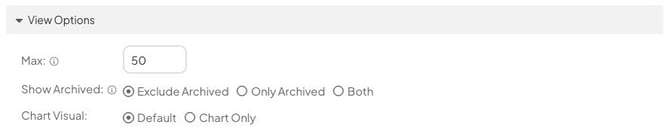
- Max: Enter the number of Items to appear on each page of your List.
- By default, 50 Items will appear on each page of your List.
- There is a maximum limit of 250.
- Max: Enter the number of Items to appear on each page of your List.
Warning: Increasing the number of Items shown on each page of your List past 50 could negatively impact performance, resulting in slower load times.
-
- Show Archived: Click one of the following radio buttons to decide whether the list should include archived Items.
-
-
- Exclude Archived: When selected, no archived Items will be included on the list.
-
-
-
- Only Archived: When selected, no unarchived Items will be included on the list.
-
-
-
- Both: When selected, archived Items and unarchived Items will be included on the list.
- Chart Visual: Select one of the following radio buttons to decide how Charts should be shown on the list.
- Default: When selected, Charts will appear on the list in the same format as any other type of Item, with the addition of a small thumbnail of the Chart.
- Chart Only: When selected, Charts will appear on the list with only their title and a larger Chart thumbnail; additional information, such as key dates and people, will not be included. All other types of Items will be unaffected by this setting.
- Item Count (Card-only setting): Choose whether you want to Show or Hide the number of Items included in the List on the Card's header.
-
- Click Save.
/Ofie/Ofie%20Profile%20Pic.png?width=80&height=80&name=Ofie%20Profile%20Pic.png) Pro Tip: Use Detail View to display a List of Charts. This allows viewers to see current Chart data by looking at the thumbnail instead of opening Items in the List individually. Whether your Charts are updated manually, through API, or the Multi Chart Importer, the most recent Chart data will always be presented in the thumbnail.
Pro Tip: Use Detail View to display a List of Charts. This allows viewers to see current Chart data by looking at the thumbnail instead of opening Items in the List individually. Whether your Charts are updated manually, through API, or the Multi Chart Importer, the most recent Chart data will always be presented in the thumbnail.