![]() Warning: Your organization must have Charts enabled on at least one Template to perform the actions on this support page. Contact your Customer Success Manager if you'd like to start using Charts.
Warning: Your organization must have Charts enabled on at least one Template to perform the actions on this support page. Contact your Customer Success Manager if you'd like to start using Charts.
With Chart Annotations, you can make connections between improvements and KPIs by giving context to your data points. Add notes and link Items to specific data points on your Charts.
At a glance
- An annotated data point will be outlined in a pre-determined color.
- Hovering over that data point will reveal a tooltip containing a summary of its first five Annotations.
- Click the data point to open a list of all its Annotations, showing any linked items or notes included in each. Click the name of a linked item on this list to open that item.
- Changes made to an Annotation - including creating, editing, or removing it - will be noted in the Chart's Timeline.
![]() PRO TIP: If you have a Chart Card on a Board, you can work with Annotations directly from the Card itself without having to first expand the Chart.
PRO TIP: If you have a Chart Card on a Board, you can work with Annotations directly from the Card itself without having to first expand the Chart.
Who can annotate a Chart?
- Anyone on the Chart's Team except for Followers or Participants.
- Anyone with the “Edit” permission for Items in the Chart's Location(s).
![]() For more information on Team Roles (like Authors, Facilitators, Participants, and more!) check out this article.
For more information on Team Roles (like Authors, Facilitators, Participants, and more!) check out this article.
Annotation Appearance
You can customize each data series on a Chart to give its Annotation markers a unique color. To do so, navigate to the Chart with which you want to work, then:
- Select the Add Data button at the top right of the Chart Panel.
- In the resulting Edit Data window:
- Click the pencil icon next to the name of the series with which you want to work.
- In the resulting Edit Series window:
- Click the Annotation Appearance header to expand that section.
- Click inside the color code field to open the color picker.
- Select the desired color for Annotations on that data series, then click Save on the color picker.
- Click Save on the Edit Series window to finalize your changes.
- Repeat this process for any other series on the Chart as needed, then click Save on the Edit Data window to update the Chart.
Add an Annotation
There are three ways to add a new Annotation to your Chart:
Option One:
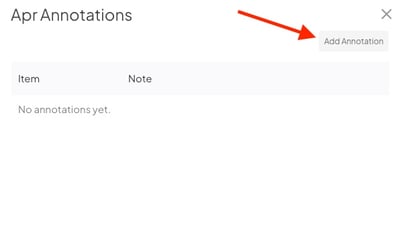
- Select the exact data point you wish to annotate. The Annotations window for that specific data point will open.
- Select Add Annotation. The Add Annotation window will open.
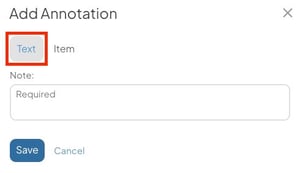
- In the Add Annotation window:
- Text: Use this tab to add a free text note to the data point.
- Item: Select the Item tab to add an Item as an Annotation to the data point. You can only add one Item per Annotation, so if you want to link multiple items to a particular data point, you’ll need to add multiple Annotations.
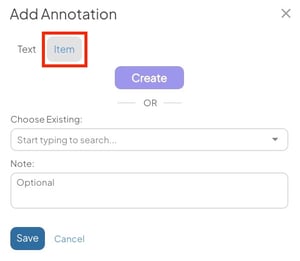
- Create: Select the Create Button to create a new Item.
- Note: Which Templates are available from this Create Button will depend on Chart Template's configuration.
- Create: Select the Create Button to create a new Item.
- Text: Use this tab to add a free text note to the data point.
-
-
- Choose Existing: Use the field to search for an existing Item. Hover over the field and select the magnifying glass to make searching for a particular Item easier.
- Note: Use the field to add an extra comment to the Item Annotation.
-
- Select Save. This Annotation will be added to the data point you previously selected.
Option Two:
- Select the ellipsis in the top right corner of the Panel containing the Chart.
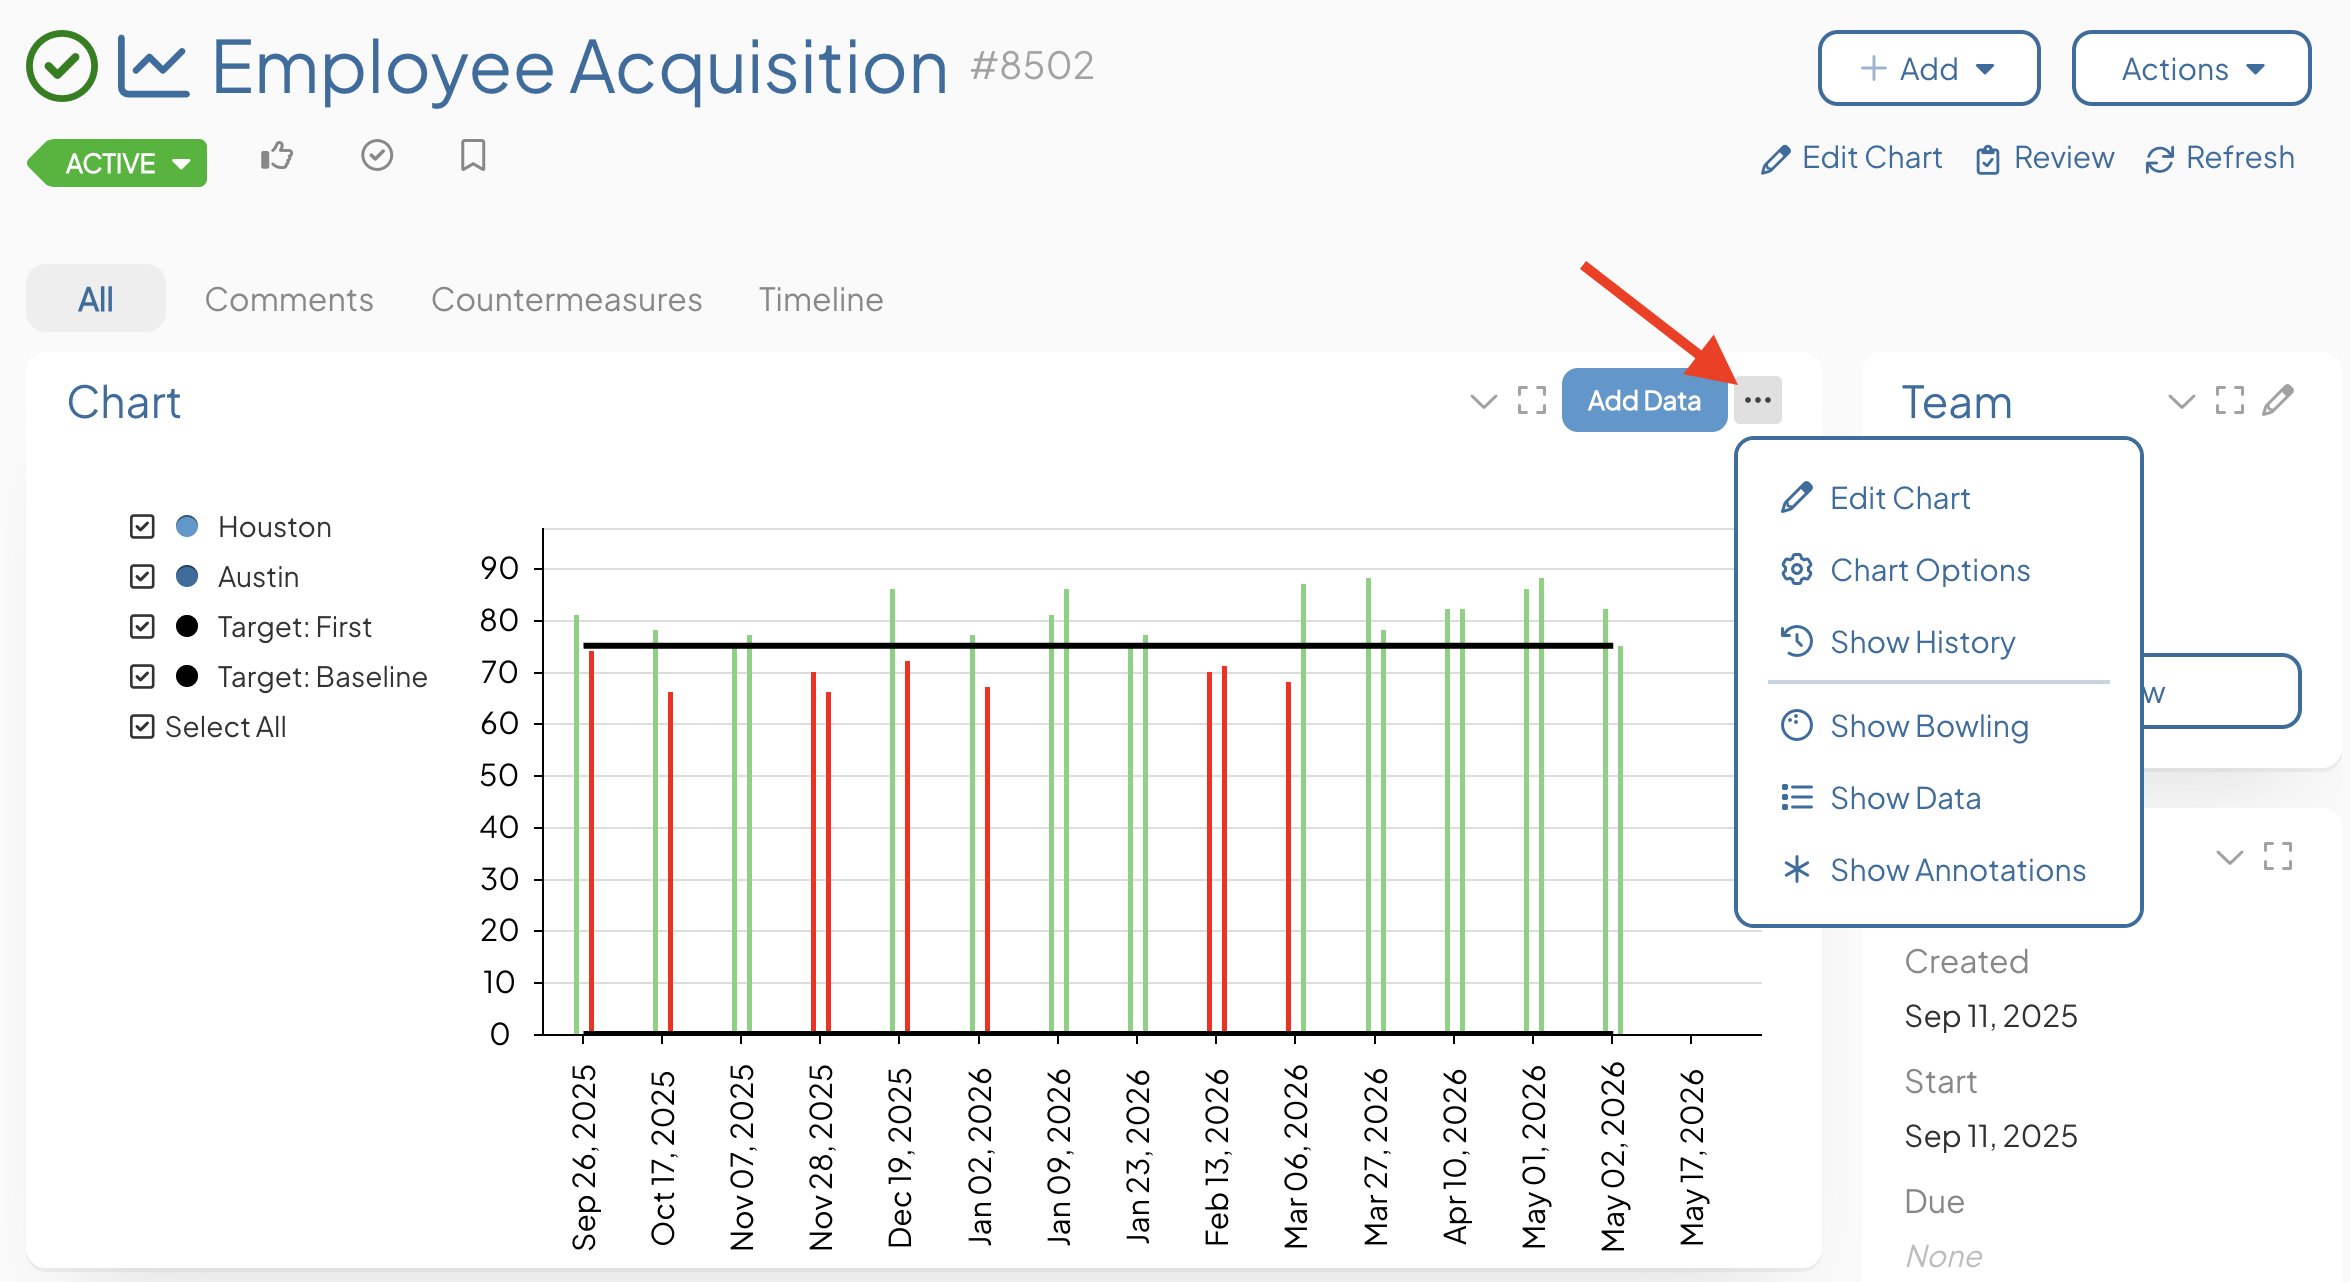
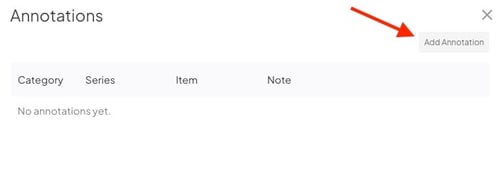
- In the resulting drop-down, select Show Annotations. The Annotations window will open. Any Annotations that have already been added to any data point on the Chart will be listed.
- Select Add Annotation. The Add Annotation window will open.
- In the Add Annotation window:
- Text: Use this tab to add a free text note to a data point.
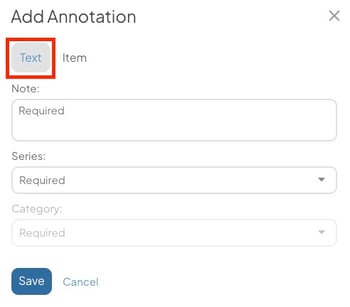
- Note: Enter your comment for the data point.
- Series (required): Choose to which Series this Annotation will be added.
- Category or Date (required): Choose to which date or category (depending on the Chart's configuration) this Annotation will be added. The intersection of the selected series and date/category determines the data point for this Annotation.
- Item: Select the Item tab to add an Item to a data point. You can only add one Item per Annotation, so if you want to link multiple items to a particular data point, you’ll need to add multiple Annotations.
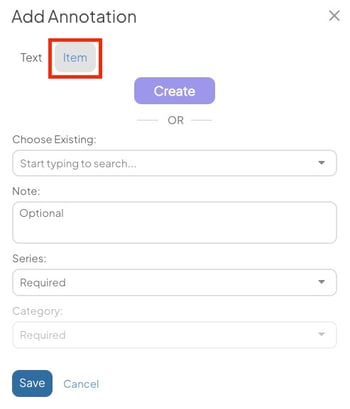
- Create: Select the Create Button to create a new Item.
- Note: Which Templates are available from this Create Button will depend on Chart Template's configuration.
- Choose Existing: Use the field to search for an existing Item. Hover over the field and select the magnifying glass to make searching for a particular Item easier.
- Series (required): Choose to which Series this Annotation will be added.
- Date or Category(required): Choose to which date or category (depending on the Chart's configuration) this Annotation will be added. The intersection of the selected series and date/category determines the data point for this Annotation.
- Note: Use the field to add an extra comment to the Item Annotation.
- Create: Select the Create Button to create a new Item.
- Text: Use this tab to add a free text note to a data point.
- Select Save. Your Annotation will be added to your specified data point.
Option Three:
- Select the + Add button at the top right corner of the Item.
-
- Select Annotation in the resulting drop-down. The Add Annotation window will open.
- Follow the steps above to add an Item and/or Text Annotation to a specific data point.
- Select Save. Your Annotation will be added to your specified data point.
/Ofie/Ofie%20Profile%20Pic.png?width=50&height=50&name=Ofie%20Profile%20Pic.png) Pro Tip: When you add an Item Annotation, the Item will have a link to the Chart in its Links Panel. This will help you easily recognize when an Item is also an Annotation on a Chart. If the Annotation is ever removed from the Chart, the link will also be removed from the Item.
Pro Tip: When you add an Item Annotation, the Item will have a link to the Chart in its Links Panel. This will help you easily recognize when an Item is also an Annotation on a Chart. If the Annotation is ever removed from the Chart, the link will also be removed from the Item.
Can I import Annotations?
Chart data can be updated by importing data into an individual chart, using the Multi Chart Importer, or through Chart Update API.
Although these import options are great for updating data on the Chart, there are significant limitations with adding, editing, and deleting Chart Annotations.
- Annotations cannot be deleted using individual imports, Multi Chart Imports, or API.
- Annotations cannot be edited using individual imports, Multi Chart Imports, or API.
- Annotations can be added using only Multi Chart Imports and XLSX Multi Chart Update API. Annotations cannot be added using individual imports on the Chart.
Due to these limitations, we recommend working with Annotations directly on the Chart and excluding them from imports.
Edit an Annotation
There are two ways to edit an existing Annotation:
- Select the data point containing the Annotation you want to edit, or
- Click the ellipsis in the top right corner of the panel containing the Chart, then click Show Annotations to see a list of all Annotations on the Chart.
In the resulting window:
- Hover over the Annotation you want to edit so that it's highlighted blue, then click the pencil icon to its right. The Edit Annotation window will open.
-
- Item: Add, change, or remove an Item by updating the Choose Existing field.
- Note: Add, edit, or remove a comment by updating the Note field.
- Select Save.
![]() NOTE: If you want to move the Annotation to a different data point, you will need to delete the existing Annotation and recreate it on the correct data point.
NOTE: If you want to move the Annotation to a different data point, you will need to delete the existing Annotation and recreate it on the correct data point.
Delete an Annotation
There are two ways to delete an existing Annotation:
- Click the data point containing the Annotation you want to edit, or
- Click the ellipsis in the top right corner of the panel containing the Chart, then click Show Annotations to see a list of all Annotations on the Chart.
In the resulting window:
- Hover over the Annotation you want to delete so that it's highlighted blue, then click the x icon to its right.
- Click Delete in the resulting confirmation window.
![]() CAUTION: When you delete an Annotation, the Annotation is permanently removed from KaiNexus. This action cannot be undone.
CAUTION: When you delete an Annotation, the Annotation is permanently removed from KaiNexus. This action cannot be undone.