Who can create a new Network Location?
Anyone with the "Quality Admin" permission can create Network Locations.
People with other admin permissions may be able to access the Network Administration page, but will not be able to make changes to it.
Create a new Network Location
To create a new Network Location, navigate to the Network administration page, then:
- To create a Location nested under an existing Location, hover over the existing Location so that it's highlighted blue, then click the plus icon that appears to its right. The Create Location window will open and the "Nest Under" field will be pre-populated.

- To create a Location that is not nested under an existing Location (or if you will choose the parent Location later), click Create Location at the top of the list of Locations. The Create Location window will open and the "Nest Under" field will be blank.

- In the Create Location window, enter the following information:
- Name (required): The name will be used to identify this Location.
- Description: Enter an optional description in this field.
- Level Type: Expand the drop-down to select the appropriate Level Type for this Location.
- Nest Under: If you want to nest this Location under another Location, expand the drop-down to select the Location under which it should be nested.
If this Location should be a top-level Location, leave this field blank.
-
- Escalate to: By default, Items that are escalated from this Location will be escalated to the next highest Location on the Network diagram. If you want to configure this Location differently, expand the drop-down to select the Location to which Items should be escalated.
- Network Attributes: If your organization has any Network Attributes configured, they will be listed here. Expand each Network Attribute's drop-down to select the value or values that should be assigned to this Location.
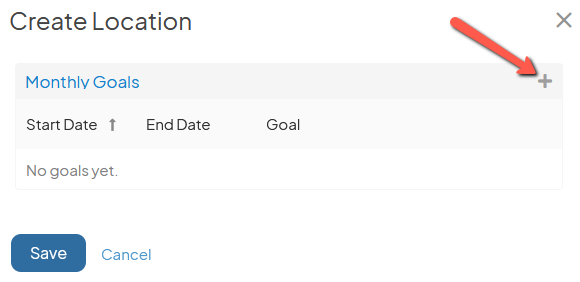
- Monthly Goals: To set a Goal for this Location, click the plus icon in the top right corner of the Monthly Goals panel and the Create Monthly Goal window will open.
-
-
- Type (required): Expand the drop-down and select whether this Goal is based on "Improvement Count" (the number of Items submitted in this Location) or "Financial Impact" (the financial impact recorded in the Resolutions of Items in this Location).
- Location & Below Goal (required): Enter a Goal for the number of completed Items per month of the financial impact per month (depending on what you chose as the Type above) for this Location and its nested Locations. The work done in this Location and in any Locations nested below it will count towards this Goal.
- Location Goal (required): Enter a Goal for the number of completed Items per month of the financial impact per month (depending on what you chose as the Type above) for this Location. Only the work done in this Location will count towards this Goal.
- When should the Goal start? (required): Enter the date on which this Goal should begin being tracked.
- When should the Goal end? (required): Enter the date on which this Goal should stop being tracked.
- Currency: This option is only available if your organization has multiple currencies enabled and if you selected the "Financial Impact" Type above.
Expand this drop-down to select the Currency that should be used for this Goal. - Impact: This option is only available if you selected the "Financial Impact" Type above.
Expand this drop-down to select which Impact Type should count towards this Goal. - Click Save.
- Click Save.
-